This project was special to me because I was present at the site when the Hunley was raised in 2000, 136 years after it sank and I spent days in the laboratory covering the excavation for National Geographic Magazine. The Hunley was one of the first 3D designs I created and was initially created on a single print on my Wanhao Duplicator 4. The small build was about 24 inches long, the main body being about 16 inches long. The goal for the larger craft would be to make it 5 feet long and apply a realistic, rusty surface to it.

Original print of the CSS Hunley
Up to this point the only 'effect' I've done on my 3D prints is to apply paint or stain. For the most part this has served its purpose. I've been working on a large-scale CSS Hunley, printing it on my industrial printer, the Duplicator 5.

Wanhao Duplicator 5 on the first print
I really wanted a rusty metal look and feel for this print, so I decided to try the Modern Masters series of Metal Effects paints.

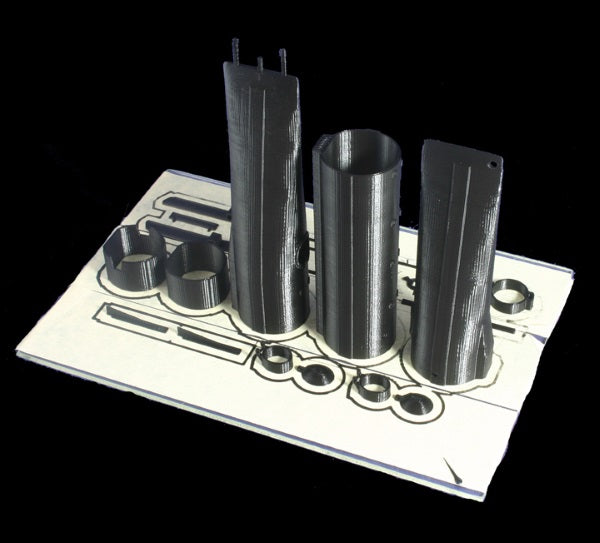
Test Sections, left to right, Bronze, Rust and Copper
When I first printed the submarine on the D5, I ran out of material before the print could finish. My mistake was trying to print the entire sub hull at one time. Since it is designed in 3 sections, when the print failed, all three sections failed. Fortunately the coupling sleeves were complete. I then printed each section separately without a problem. To take advantage of this mistake, I decided to use the sections as tests for the 3 different types of Metal Effects paint that Modern Master offers. I ordered the paints online directly from the store (http://www.modernmasters.com/). I bought their Bronze, Rust and Copper paints as well as their blue and green patinas and the rust activator. In addition I bought their Permacoat, which retards the effect activation and seals the paint, and also a bottle of their primer. While I knew I wanted the rusty look for this print, I was curious on how the other paints would work for future projects.

The paint cart in my studio, Primer and Metal Effects paint in the front row, Effect Activtors in the second row.
The tests showed me that the bronze and blue patina had great potential. The rust was perfect for this project. The copper was interesting, but the specularity of the paint REALLY showed off the print layers. I also tested the green patina on the copper and it gave it a nice aged tint. For future reference, if I want to paint a print with copper, I'll print at high resolution (0.10 mm) and prep the surface a bit.

Stern section on the Duplicator 5
I used Super Control Gel Super Glue to assemble the print. With the assembly done, I decided it was 'too perfect. I wanted a slightly irregular feel to the surface, so I dug out some vinyl spackling from the garage and coated the entire build. The results were exactly what I had hoped for.

Primer coat
Next step was applying the primer coat, which they say is required. This thick paint helps fill in the layer ridges as well as providing a base for the paint. I dried it with a hair blower in about 5 minutes. As per instructions, I put on two coats of their Iron paint. I dried the first coat with the hair blower and then made sure I was ready to put on the Rust Activator when I put on the second coat. The Activator must be applied before the second layer dries. While the second layer was still 'tacky' I used a sea sponge to apply the Activator. Then it was a matter of just waiting until I had the level of rust I wanted. It took about 10 to 15 minutes to see any change at all. In about 30 minutes the rust began to be pronounced. Around 45 minutes after putting on the Activator, I applied the Permacoat to the craft and let it dry for the night.

Final project
The result was a 5 foot long realist replica of the CSS Hunley which had a home waiting for it in our media room. The photo above doesn't do the final print justice. But the submarine is too big to put into my photo cube. So at some point in the near future I'll shoot it again. But when I look at it (stand being printed while I write this) in my media room, I am 100% pleased with the results.